LOPO Flexible Brick Application Method
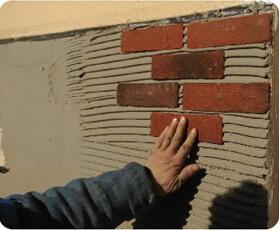
Embed the flexible brick slips fully into the freshly applied adhesive and leave 8-12mm wide joints between the brick slips. Gently push the slips and move up and down to adjust the joints, make sure the edges of the brick slips are fully coated with the adhesive.
LOPO Flexible Brick Application Method introduction:
As an emerging building decoration material, LOPO flexible brick is a sheet made of natural clay and fiber. It is not only environmentally friendly, but also very convenient to install.
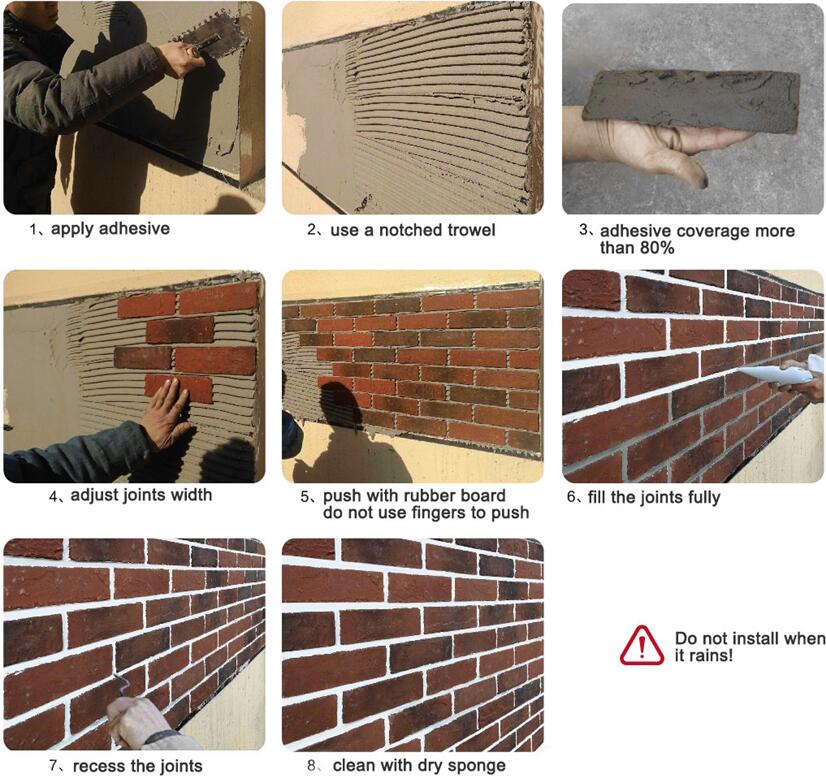
- After the base layer is processed, snap ping lines on the installation wall area. Apply 2-3mm thickness of adhesive on the wall with a notched trowel. In case the adhesive become too dry to apply, every time apply an area length same as your arm can reach.
Or you can apply the adhesive on the back of each flexible tiles with at least 80% of the back surface covered.
- Embed the flexible brick slips fully into the freshly applied adhesive and leave 8-12mm wide joints between the brick slips. Gently push the slips and move up and down to adjust the joints, make sure the edges of the brick slips are fully coated with the adhesive.
- When the basic adhesive material is half dry, you can start the grouting work. Make sure all the joints are fully grouted.
- Recess the Joints when the grout is half dry.
- When the joint adhesive is half dry, use dry brush or dry sponge to remove the excess adhesive the surface.